How to Create a Multi-step WordPress Form in 7 Easy Steps

Multi-step forms have several benefits, and one of them is to keep your form neat without creating noise.
These forms convert well while you can collect a lot more data, as well.
However, segmenting a long WordPress form into multiple parts is not a difficult thing to do.
Today, I’m going to show you the step-by-step process of creating a multi-step form in WordPress.
For more conversion and better user engagement, you should make multi-step forms often.
How to create a multi-step form in WordPress
Follow the steps below to design your multi-step forms and begin improving your site’s performance.
Step 1: Create a form in your WordPress site
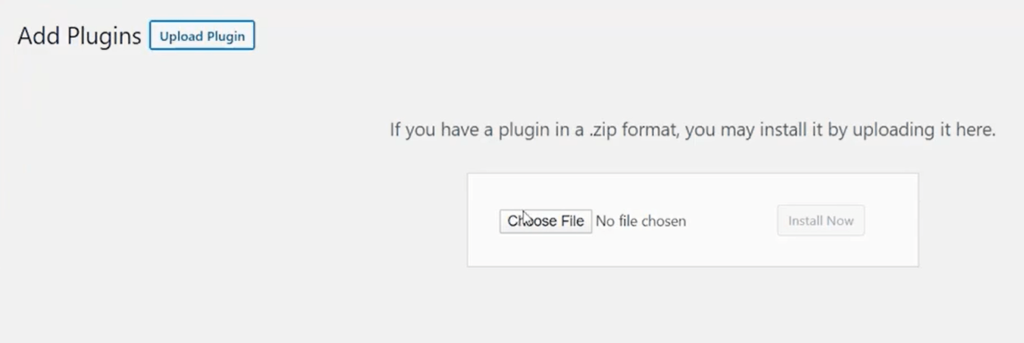
To create forms easily in WordPress, install WPForms from Plugins >> Add New and search in the box. After installing, don’t forget to activate it.
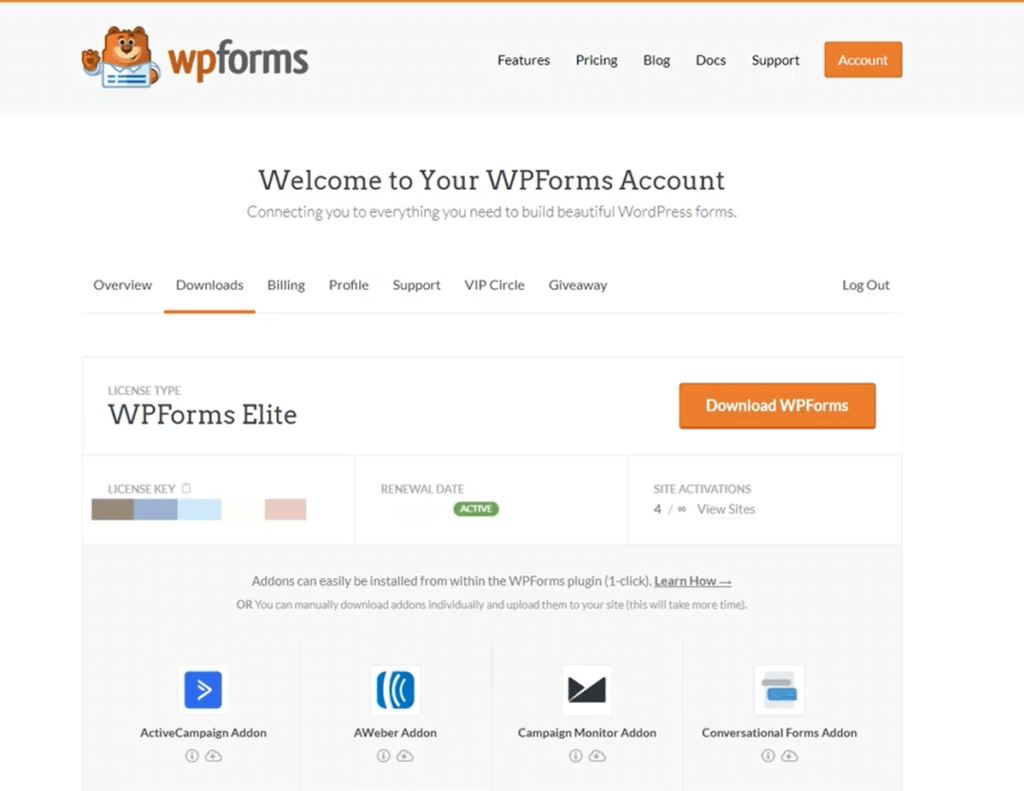
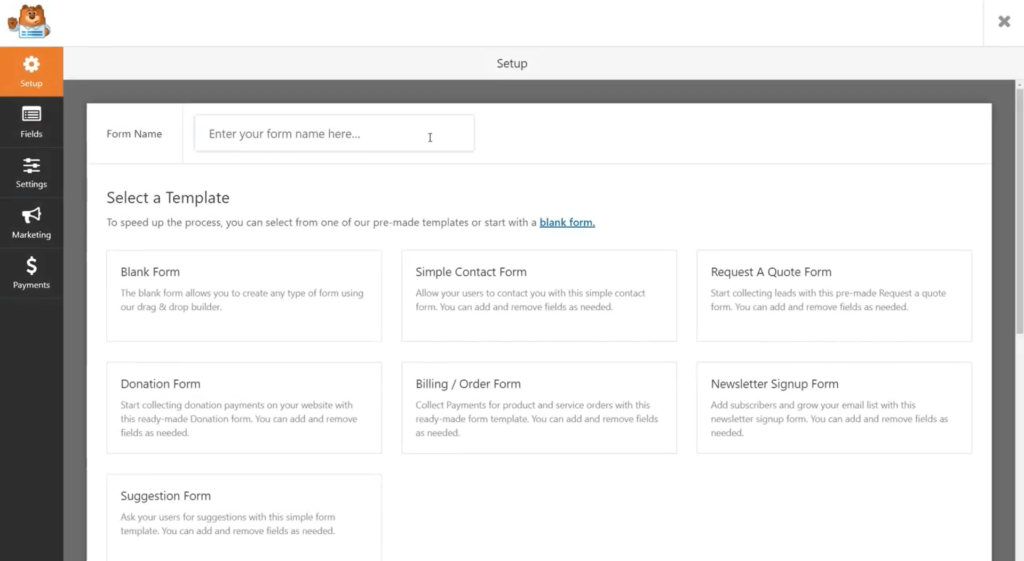
Now, get started with WPForms by creating a new form. Head over to WPForms, and click Add New.
For multi-step forms, you don’t need to choose a different type of form. You can turn any WordPress form into multiple stages with WPForms.
Let’s create a basic form by giving it a name and choosing the template you think right for your purpose.
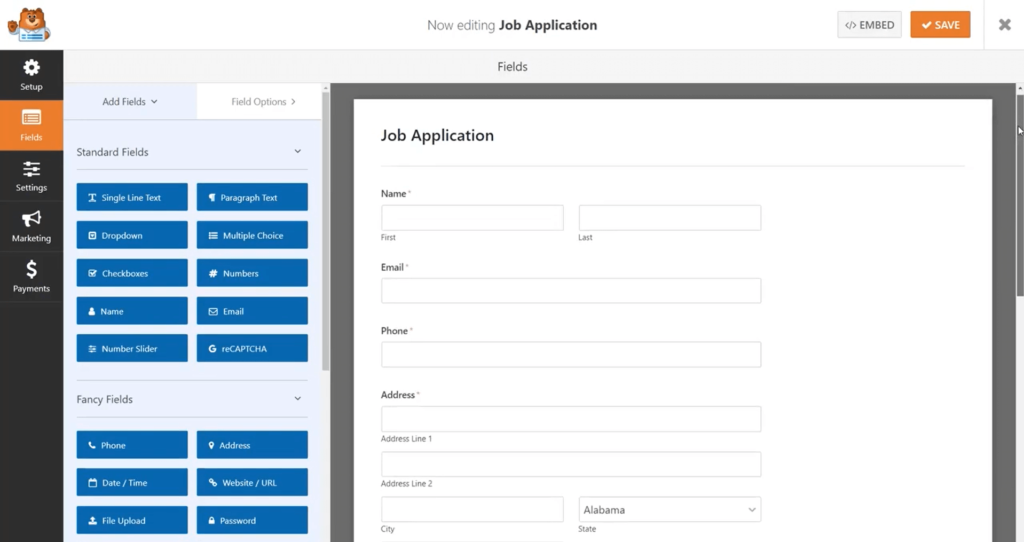
A simple contact form will appear in the editor area. We’re going to customize the form with the necessary information.
As WPForms offers drag and drop input fields on the sidebar of the dashboard, you can select any field you need. Click the field and drag it to the builder area.
The simple contact form comes with Name, Email, and Message fields, which is usually required for a contact form.
If you’d like to bring any changes to the form fields, click over it. There’s another great opportunity to drag any field and replace them anywhere you like within the form.
That’s all about creating a form without any coding and customizing efficiently.
Next, move over to the steps where we can add multiple steps to our form.
Step 2: Turn your form into multi-step form
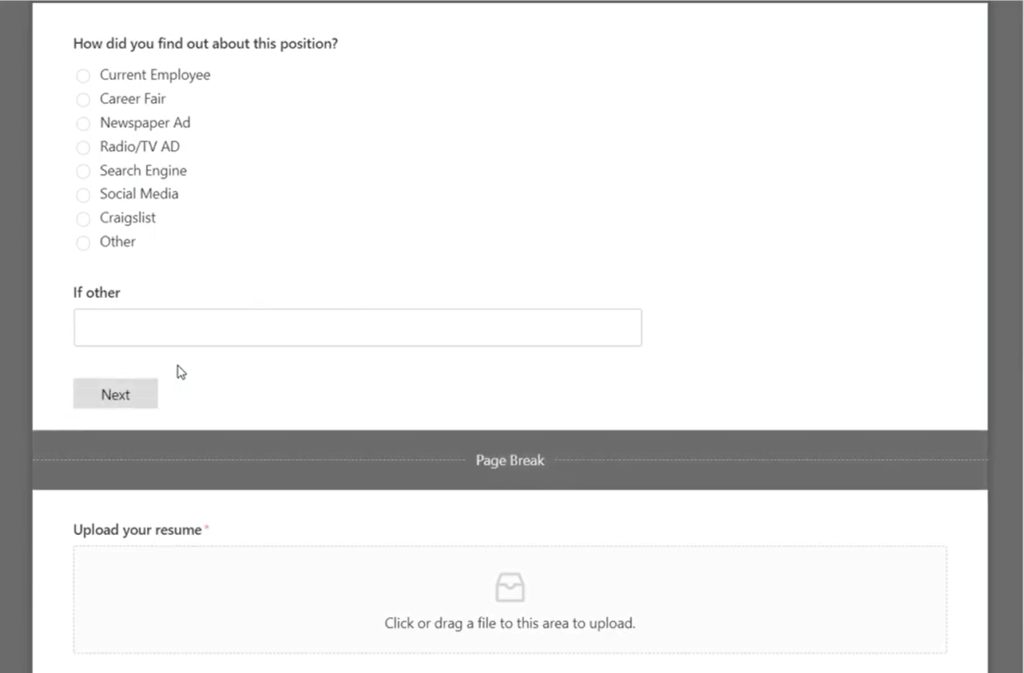
After getting done with the form creation and customization, now you have to split the form into several parts. To do that, add Page Break from the input fields, and the form will get parted into various parts.
To do this, drag the Page Break form field, found under Fancy Fields, from the left-hand panel to the right-hand panel.
Under Fancy Fields, you’ll find the Page Break field. Drag it and drop where you want to see your form split.
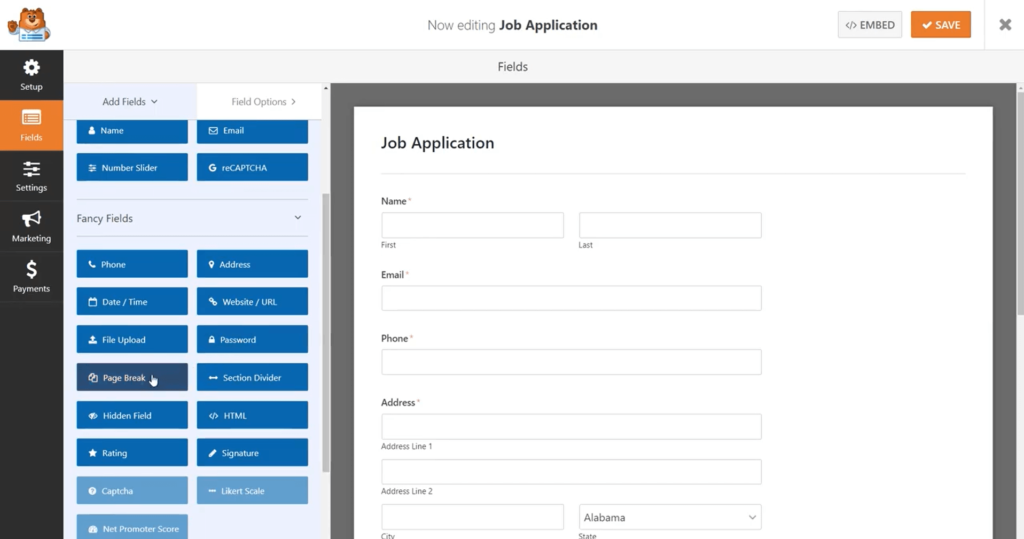
Anywhere you want to see the separation, place the page break there. It will distribute your whole form into several pages.
There’s no limit to adding pages to your form. WP Fluent Forms allows you to create the longest form you can think of. Be careful when you’re on building a multi-page form because you shouldn’t confuse users with too many steps.
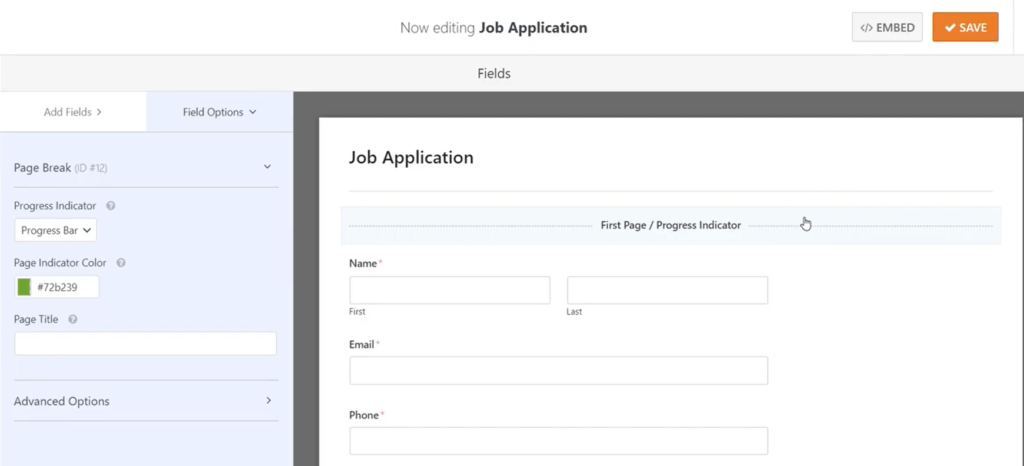
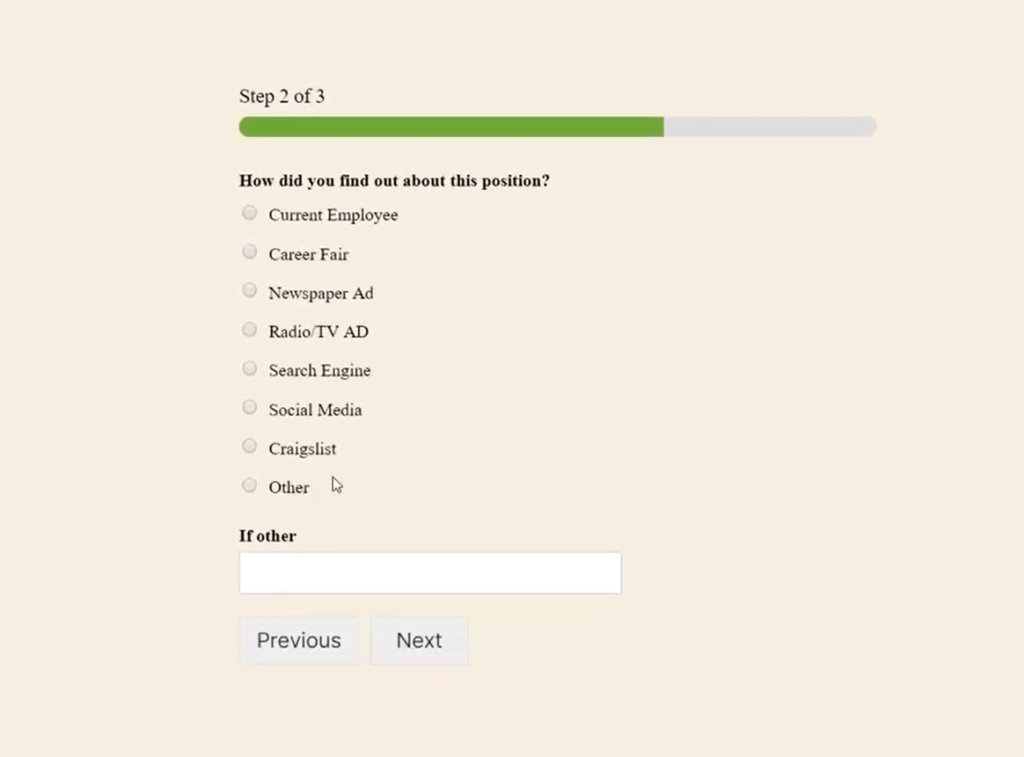
Step 3: Help users with the progress bar
Well, the progress bar makes it user-friendly as people can see the progress of a form filling.
You can let them know where they are and how long it will take to complete the form.
It’s not a good idea to keep your users in a confusing situation where they’re not sure about the ending.
WP Fluent Forms has smart solutions for that. You can choose the perfect one from three different bars.
A Progress Bar will demonstrate the progress of how many parts are filled out.
The Connectors will show page titles associated with every step of your form along with a connecting bar.
Finally, the Circles will indicate a single circle on every page alongside the page title.
You need to know now how to customize a progress bar so that it can perform the right way for your multi-step form.
To do that, click on the break section of the first page of your multi-page form.
It will present you with a new panel where you will get the opportunity to select from the three bars I have mentioned.
Not only choosing the bar, but you can change the color of the progress bar, as well.
Change the page title here too so that the specific part describes what it requires from users.
Only the Connectors and Circles will allow you to change the titles.
The progress bar will simply indicate how many steps are yet to be completed before hitting the submit button.
Go through all the sections this way, and edit the page title with the correct label.
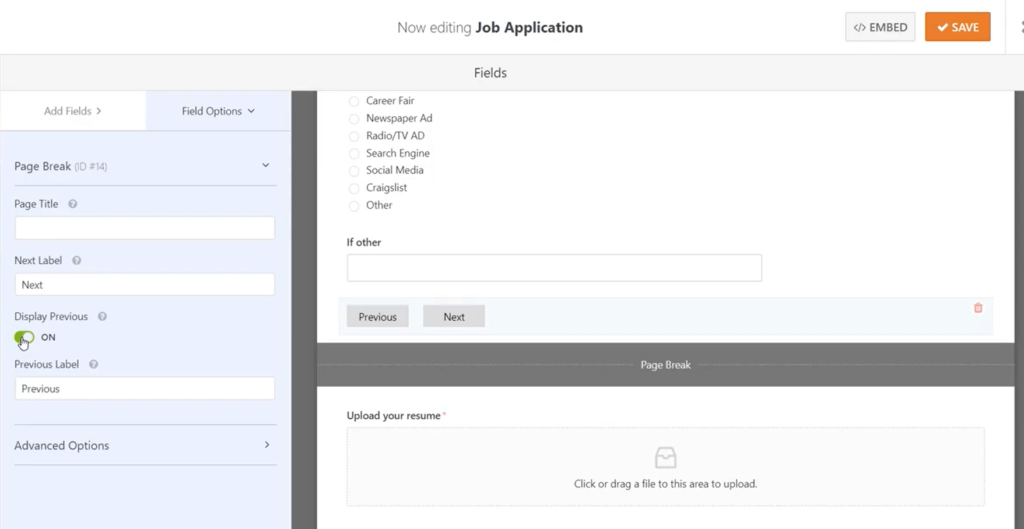
Click the Page Break section in order to optimize the titles for the next pages.
Besides the next button, there’s a previous button available if you want to allow your users to go back to the previous parts of the form.
More intuitively, you can customize the button text to make it more personalized.
After creating the page breaks for every step, and customizing the progress symbols, click on the Save button.
Step 4: Let’s do the customization in the form settings
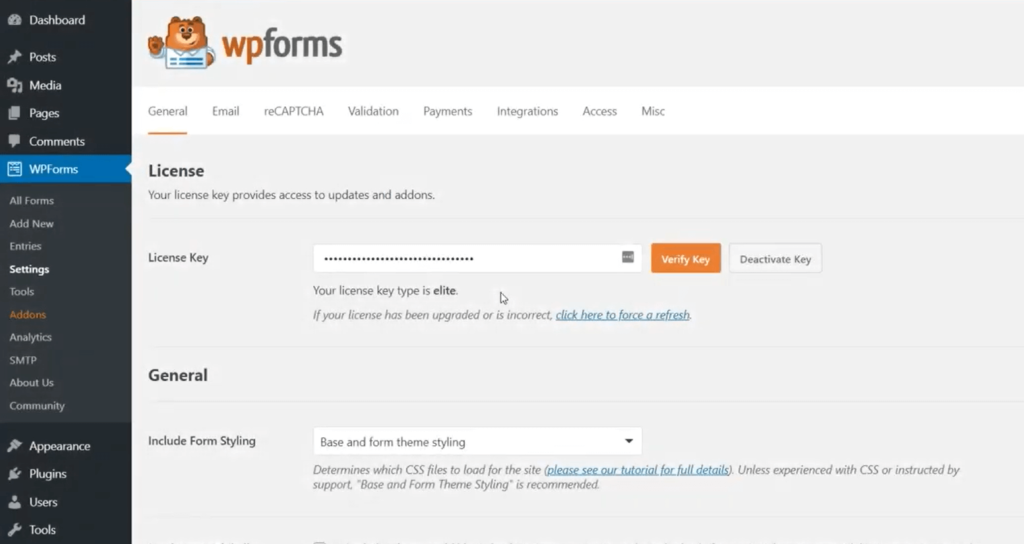
For configuring the form settings, head over to General from Settings.
You can customize the following options there:
Edit the form name if you think necessary
If you want to add a description for other admins, write on the description box.
You can even change the text from your submit button.
There several options for spam prevention. Protect your forms by choosing anti-spam features or reCAPTCHA.
AJAX settings can make your form working without reloading. So, enable that for improved performance.
You have to be careful while collecting user’s data. If you store the information without their consent, you can be legally penalized. As a rule of thumb, you can stop saving user information or letting users choose what they like.
When you’re okay with the configuration, click Save.
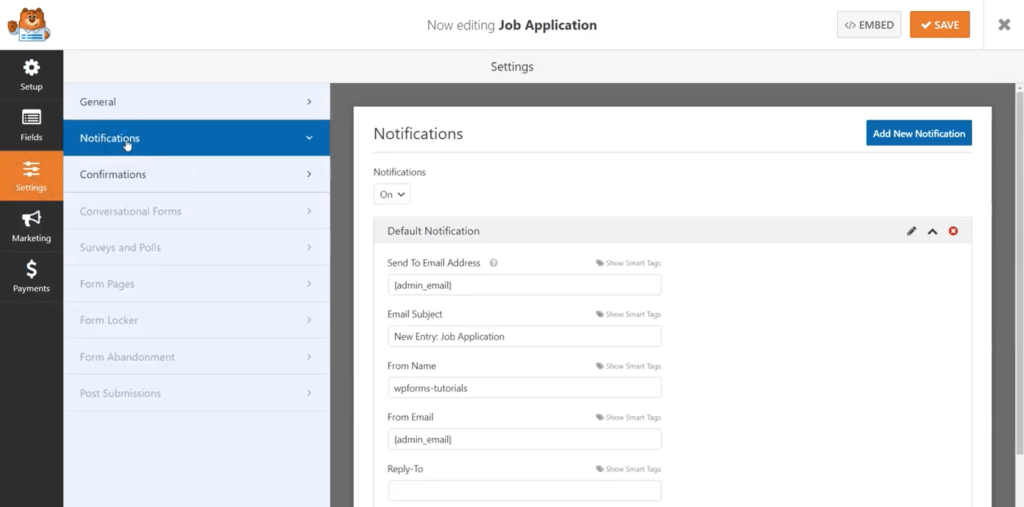
Step 5: Customize notifications to get notified
Whenever someone submitted a form, an automatic email will be sent to your users as well as to the admins.
If you keep this feature enabled, you’ll get a notification every time a user submits a new multi-step form.
It’s a great way to stay updated with your valuable form submissions.
WPForms also comes with Smart Tags that can open a new world for you.
A notification will be delivered to your users via the email address they used in the form.
You can customize the message with your words, and assuring them the form was submitted successfully, and they will be contacted later.
Don’t you think it’s a simple yet effective way to keep users in peace?
After all, they have gone through a tiresome process, and they deserve to know whether the form got to the right hand.
Step 6: Personalize confirmation messages
Before sending emails, you can show an instant message to your users right when they submitted a form.
This on-site message will tell them the submission was successful.
Additionally, you can add more information, like what to do next, or add some informational links.
Not only for multi-step forms, but this feature comes handy for every other form.
With WPForms, you have three different options to display the success message.
Instant text: It’s the default option for instant confirmation. If you didn’t choose other options, then this option will work. This is a simple text that will appear immediately after a user clicks the submit button while getting done with the form.
A particular page: You can take the respondents to a page from your website. This is a great way to show gratitude to your customers. What you have to do is creating a beautiful and engaging thank you page beforehand and include the link to the Show Page option.
Redirection: Other than showing a specific page, you can also redirect your users to another website. If you want to keep your form on a domain and want to take your visitors to a different one, this feature will help you a lot.
By customizing the confirmation properly, you can set up the message for visitors when submitting a new form.
I’m going to show now the way you can rule over the confirmation setting.
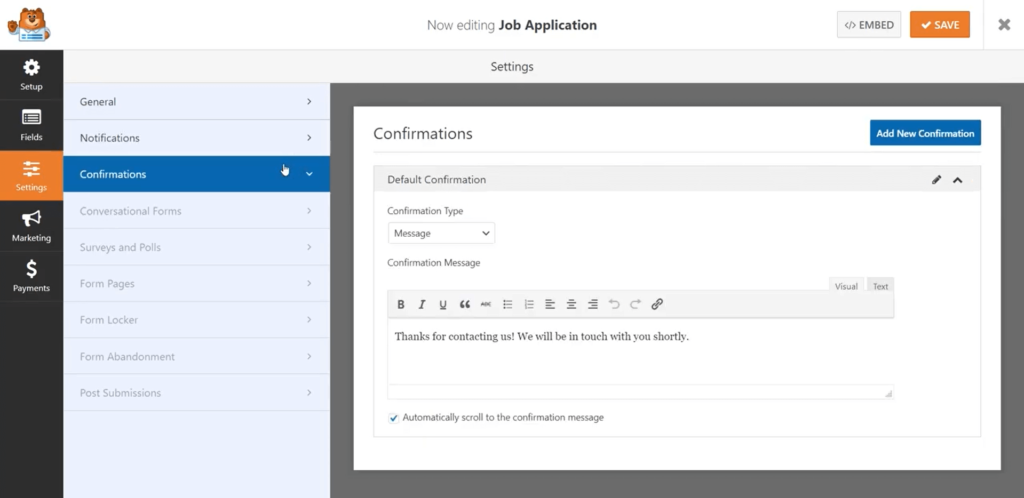
Start the process by clicking on the Confirmation, which is available under Settings on the form editor.
What type of confirmation you like – choose that from the options. I’m selecting Message for my example.
Edit the message on how you want to show it to your visitors.
After customizing, click Save.
Your form is ready to display on your website. Let me walk you through how it can be done.
Step 7: Embed the form to your website
Congratulations! You’ve successfully crafted your first multi-step form.
Add the form now to your WordPress website.
Stay calm! It’s easier than you think.
Interestingly, you can place your forms across the whole website when you create forms using WPForms.
Exhibit the form on blog posts, pages, or sidebar widgets.
The most used place to include a form is inside blog posts and web pages.
Want to add the form to a new post or page or embed it to existing ones?
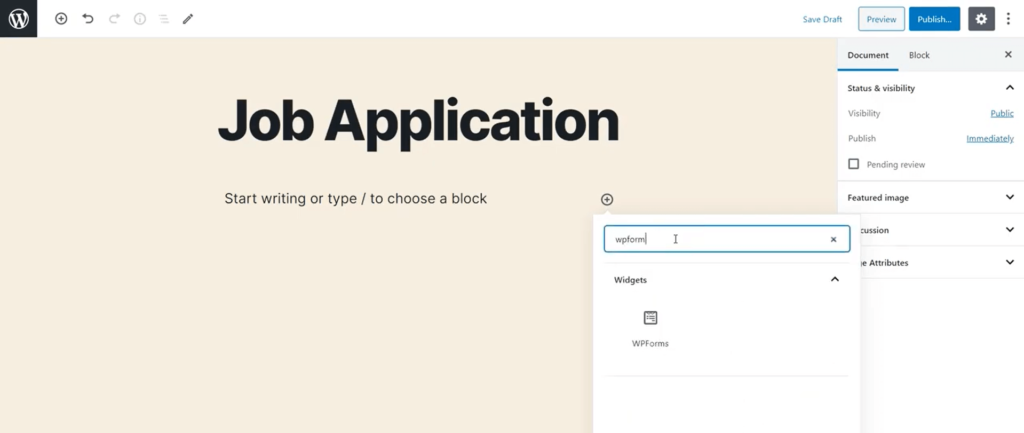
However you like, go to the block editor, click the plus icon, and choose Add WPForms.
When you see the WPForms widget within your block, click the dropdown, and all of your forms will appear here.
Pick the multi-page form you have just created and want to integrate here.
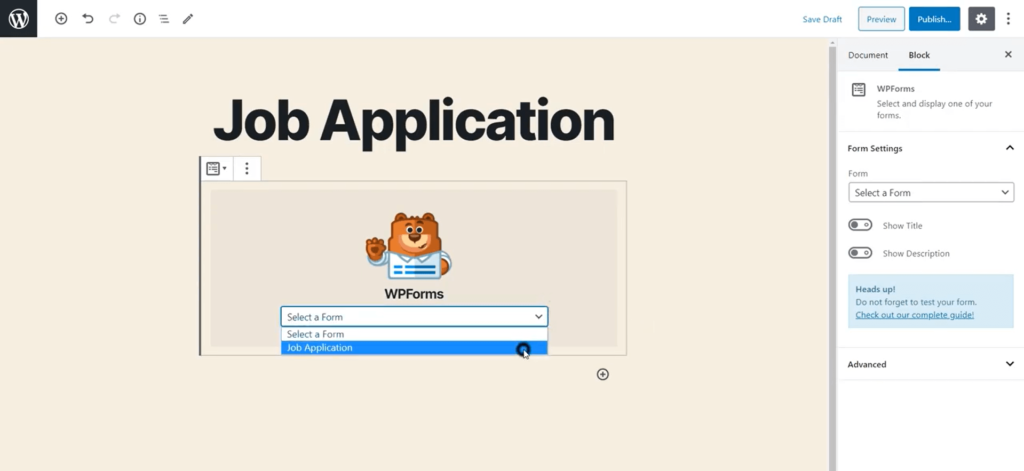
Publish your post if it’s new, or update for the already published posts.
Your multi-step form will now appear on your WordPress website.
Summing up
It’s no more a snag to you creating a multi-step form to collect detailed information from your website visitors.
WPForms makes both things easier: creating a form and inserting it to your website’s pages and blog posts.
You already know that a multi-step form is something that nicely improves your user-experience.
People love that because they know before starting how long the road they have to cross.